XPS files or XML Paper Specification files, are the alternative proposed by Microsoft to the Adobe PDF format. XPS Viewer is the application used to display XPS files, similar to Adobe Reader. While XPS formats are not as popular as PDFs, they are still used. This guide will be useful to those who want to learn how to use them,
What are XPS files and how do we create them?
The XPS document format is widely used, with a standard layout, designed to ensure the fidelity of documents. XPS has several advantages such as better compatibility with other technologies such as the digital rights management technology from Microsoft. Because this functionality is built into all Windows applications, it is very easy to create XPS documents from any file type that supports printing.
You can create an XPS document from any file that contains text by going to the Print menu of the application you are using and selecting “Microsoft XPS Document Writer” instead of the printer as a device, just as shown below:
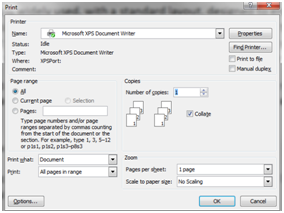
You will be asked where you want to save the new document and the name under which it should be saved. After entering this data, click the Save button. It is worth mentioning that Microsoft Office 2007 and 2010 offer the option Publish as PDF or XPS as well.
Basic operations of XPS Viewer
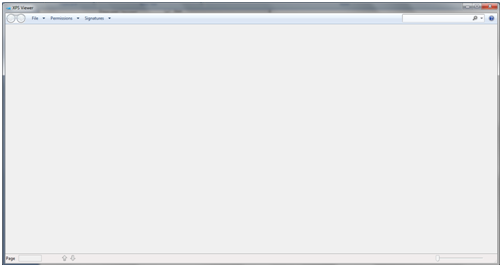
To open an XPS file, all you have to do is double-click it. Default program for opening files in Windows 7 and Windows 8 is XPS Viewer. If you want to open another XPS file, click File -> Open and select the document. The main window of XPS Viewer is shown in the picture below:

For more details about the file you opened, go to File -> Properties. For listing document you will have two options: either go to File -> Print, or simply press the Print button.
The XPS Viewer application provides various options for displaying the document. Press menu to choose how to display the document. You can set the zoom level, the page width and other similar aspects.
If you want to search for any word or phrase in the XPS file? You just have to him / her enter in the Find box in the upper right corner and hit enter. The following picture illustrates searching for the word ‘viewer’.

Setting permissions with XPS Viewer
XPS Viewer allows us to choose who can view, print, copy or digitally sign an XPS document and also for how long one could see it and make changes to it. XPS Viewer uses the Windows Rights Management Services to apply permissions to documents. To use permissions you must have a Rights Account Certificate.
Signing a document with XPS viewer
A digital signature allows you to see who created the XPS document and can confirm that the document has not been altered since it was signed. To digitally sign a document must, first, to obtain a digital certificate. Certificates are used to verify the identity of a person or device. A certificate for personal use is not distributed automatically so you have to contact a dealer to request a certificate and import it. If you work for a company that uses certificates then you will be able to sign the documents.
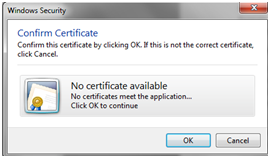
To sign a document go to Signatures -> Sign Document. Click sign and you will be shown a list of available certificates. If no certificates are installed you will see the following message instead:
If you do not have a signature, choose “Request a Signature” from the Signatures menu.
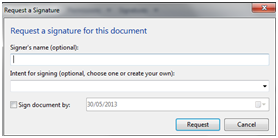
Write your name and choose the intent for signing from the dropdown menu. Click OK after you do this.